
You will need these components for making a quality DB25 snake:
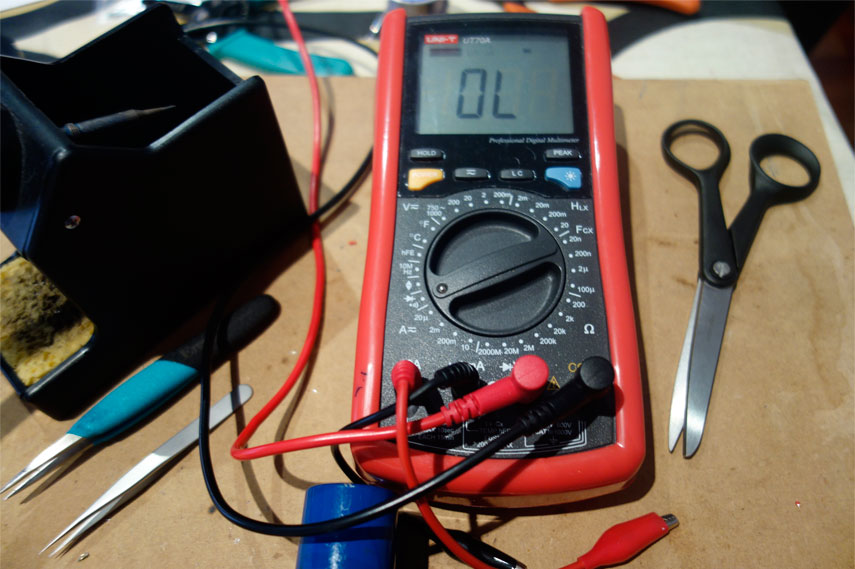
Soldering tin (I use WTB tin with 4% silver, great quality, and sound), soldering iron, multimeter, lathe, tweezers, wire stripper, cutter, shrink tubing, and of course quality multicore cable.

You can use a magnifying lens to see better welding.
Soldering tin (I use WTB tin with 4% silver, great quality, and sound), soldering iron, multimeter, lathe, tweezers, wire stripper, cutter, shrink tubing, and of course quality multicore cable.
You can use a magnifying lens to see better welding.
Mogami is one of the most used, very good quality, but I prefer Gepco snake, great sound, low noise and cheaper option. Apart it has a type of sound I really like. Very similar to Mogami.
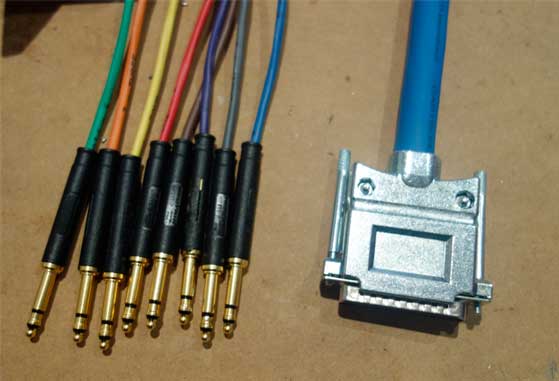
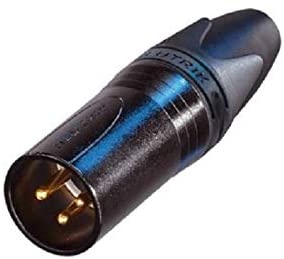
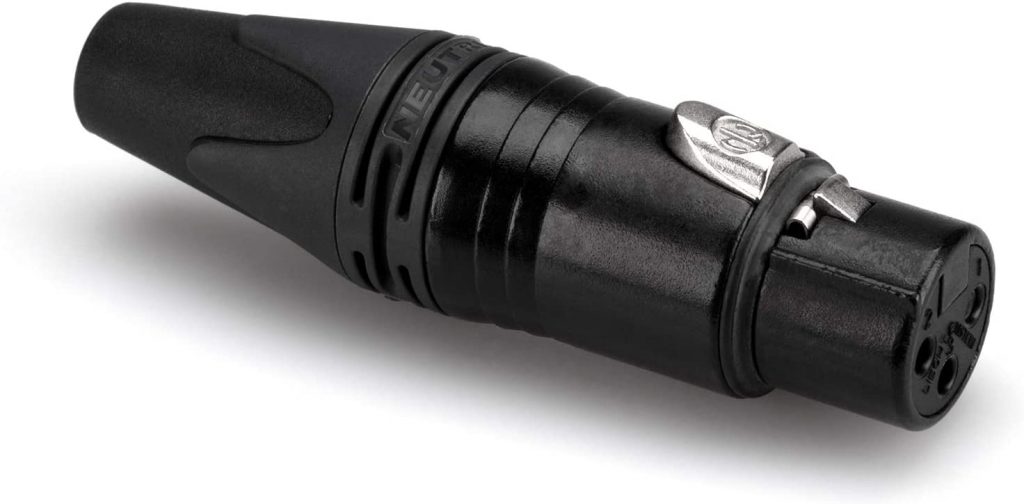
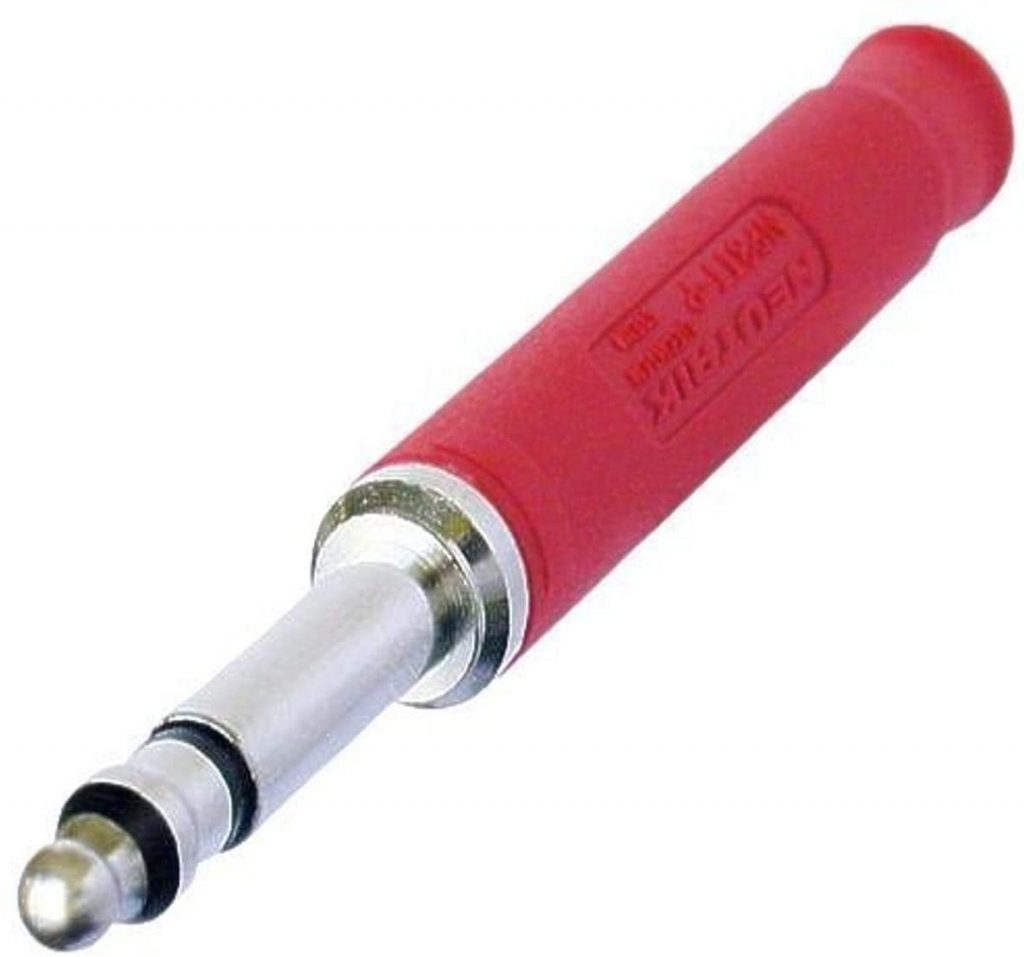
We will choose the connectors. XLR, Jacks, bantam or bare wire for soldering in a patch bay. I like black Neutrik pin gold connectors, great quality, and sound, and they look cool.
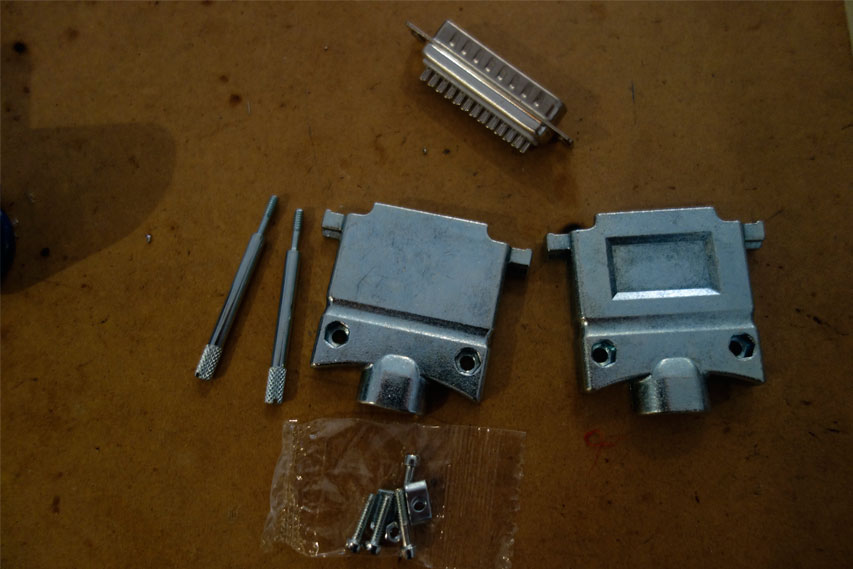
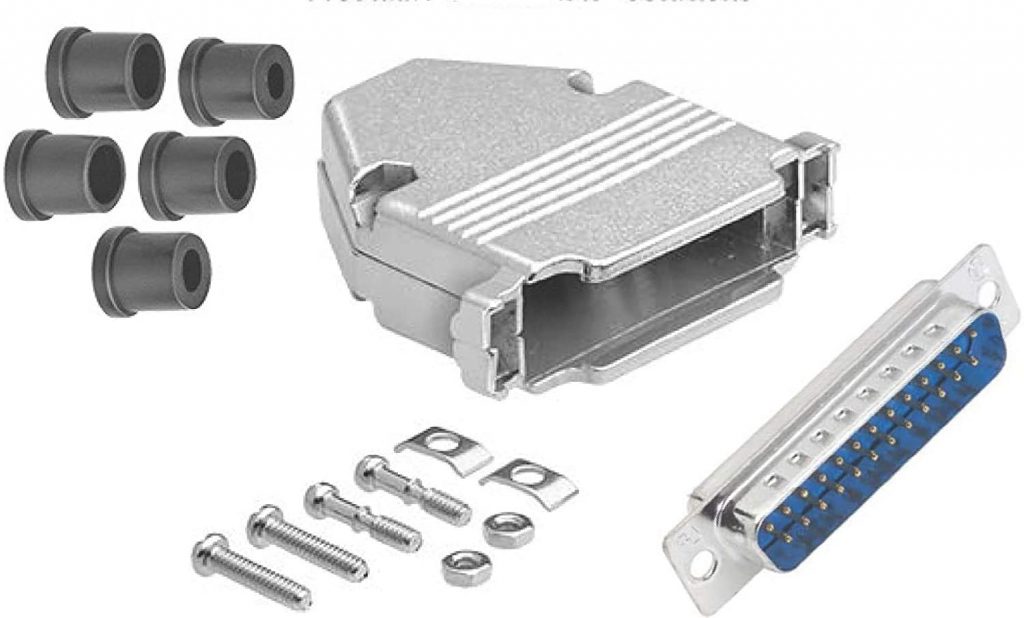
It is preferable to use quality DB25 metallic hood connectors than plastic housing.
All these materials count for better sound quality. I tested more expensive commercial snakes vs mine and I prefer the sound of my Gepcos. I can really hear better small nuances on my Lipinski and Amphion speakers.
We will choose the connectors. XLR, Jacks, bantam or bare wire for soldering in a patch bay. I like black Neutrik pin gold connectors, great quality, and sound, and they look cool.
It is preferable to use quality DB25 metallic hood connectors than plastic housing.
All these materials count for better sound quality. I tested more expensive commercial snakes vs mine and I prefer the sound of my Gepcos. I can really hear better small nuances on my Lipinski and Amphion speakers.


Cut the length needed of your snake. You will have to add the cable length connections.
If you need a db25 snake of 1.5 meters, add 5cm for the db25 connector and 30cm for XLR or Jack connectors.
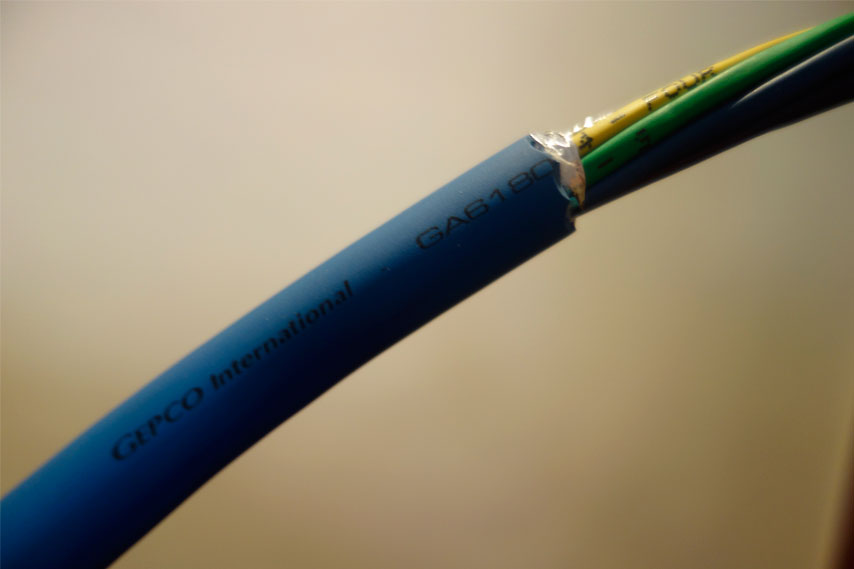
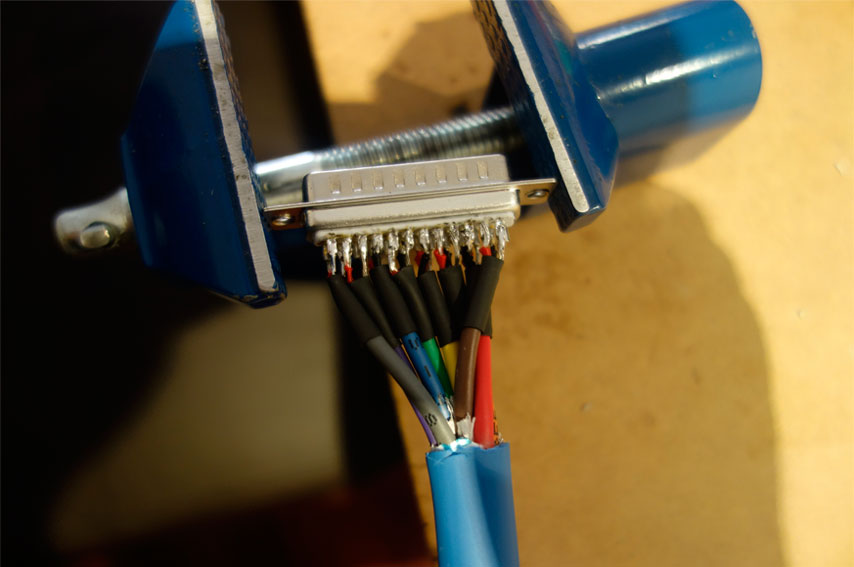
Stripe the side of db25 connector:

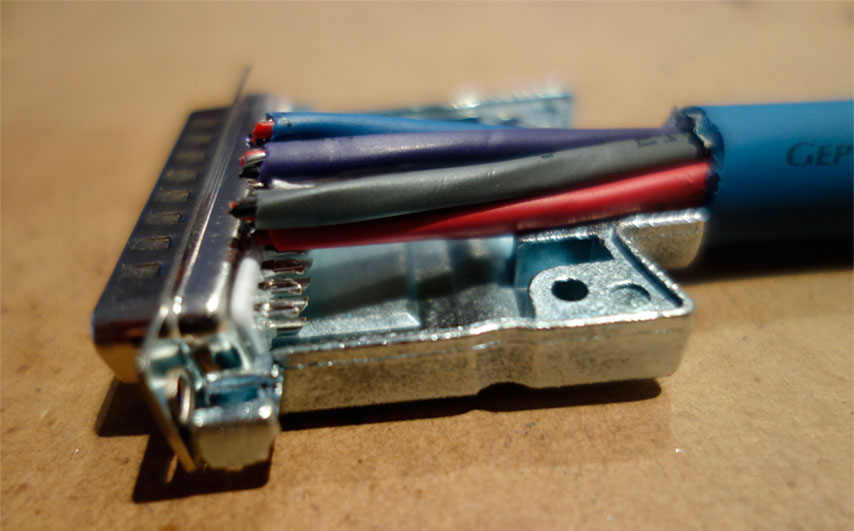 Once stripped soldering all wire tips with a drop of tin. After that enter a shrink tube on each channel cable, 4mm shrink tube fits fine.
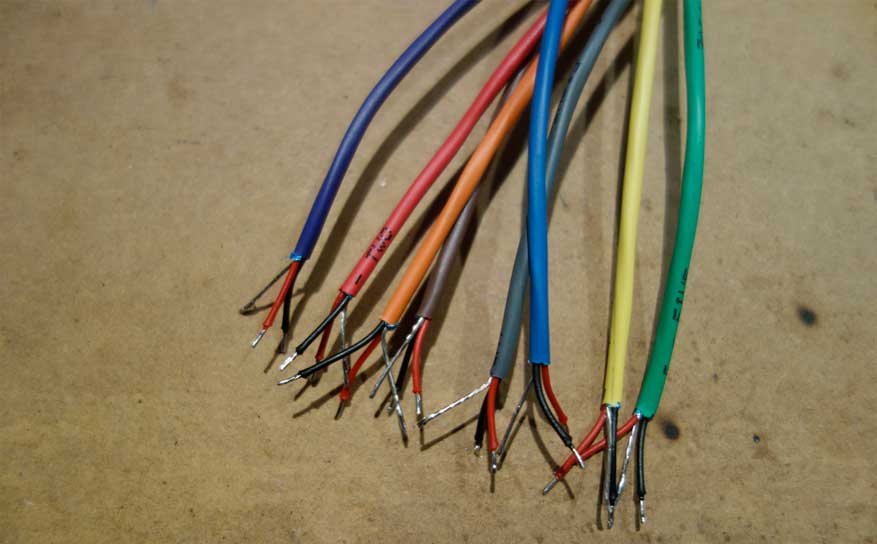
 Now repeat the previous step with the XLR or Jacks connectors side. On this side, shrink tube is not needed.
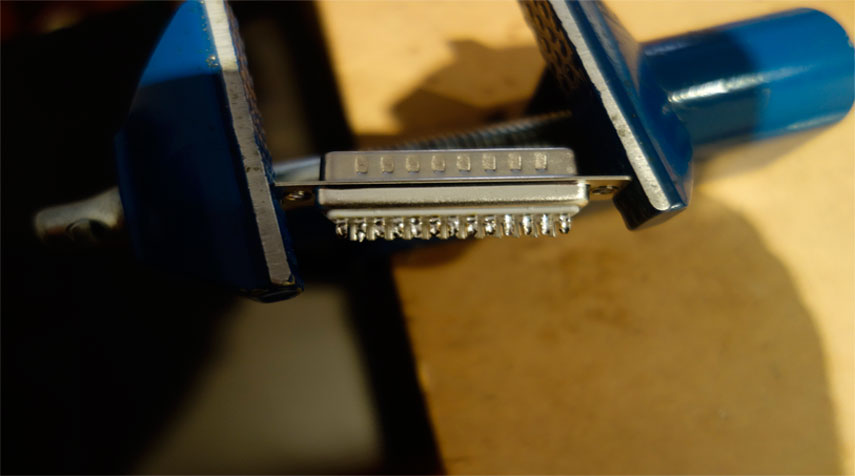
 Now, will begin with DB25 soldering, put the connector on your lathe, we soldering the top row.
First fill the pins with a drop of tin, after that solder the cables following Tascam or Yamaha pinout, see below picture.
Stripe the side of db25 connector:
Once stripped soldering all wire tips with a drop of tin. After that enter a shrink tube on each channel cable, 4mm shrink tube fits fine.Now repeat the previous step with the XLR or Jacks connectors side. On this side, shrink tube is not needed.Now, will begin with DB25 soldering, put the connector on your lathe, we soldering the top row.First fill the pins with a drop of tin, after that solder the cables following Tascam or Yamaha pinout, see below picture.


2 thoughts on “How to make db25 multicore tascam snake cable”
Hi,
I’m making a similar project now, do you experience some kind of noise problem with this connection, thanks and best regards.
Juan Medina.
No. DB25 is a professional connector in a lot of High-end studio converters. If some noise appears could be a failing gear or a bad cable connection.