Proper project preparation makes audio post-production more efficient, helps prevent technical issues and reduces unnecessary studio time. Before sending your project to an audio post-production studio, check the following technical requirements.
1. Picture Lock and Video Export
It is recommended to finalize the picture edit before starting audio post-production.
Changes made afterwards may require additional editing and synchronization work, increasing studio time. For a short promo or commercial, this may not be a major issue.
However, changes to a feature film or documentary can involve a considerable amount of additional work.
Always confirm the video frame rate before starting. Working with the wrong frame rate results in a different running time. For example, the same film running at 25 fps will have a different duration when played at 24 fps.
If the studio works with the wrong frame rate, the project may need to be adapted and its synchronization corrected.
Experienced post-production studios will normally confirm the video format with the client before starting work.
The reference video should use a codec and file size that allow smooth playback in the audio software. Large files or demanding codecs may cause playback issues. H.264 and similar formats are common options.
2. Preparing and Exporting Audio
For audiovisual projects, 48 kHz and 24-bit audio is the recommended high-quality delivery format.
Export audio files as WAV or AIFF.
Avoid MP3 and other lossy compressed formats, as they can reduce audio quality.
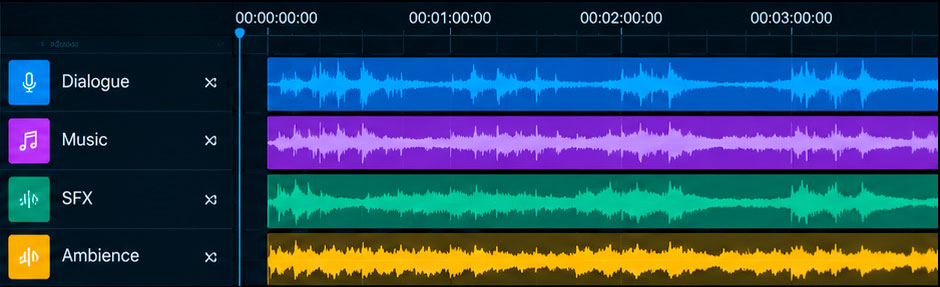
Provide dialogue, music and sound effects (SFX) on separate tracks.
Make sure all audio is correctly synchronized with the reference video.
Synchronization is essential. The sound engineer may not know the exact position of every element in the original edit. Incorrect synchronization can affect both the creative process and the final result. It is especially noticeable in dialogue when the actors’ lip movements do not match the sound.
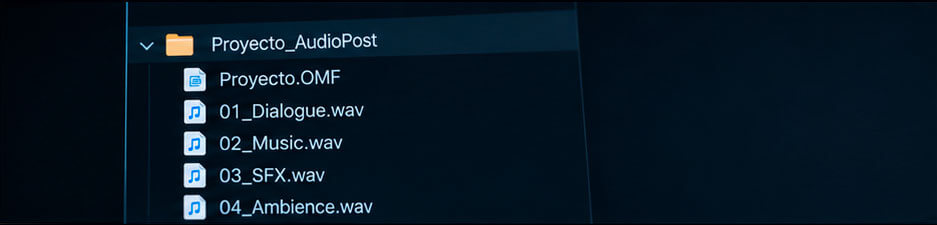
Whenever possible, provide the audio through an AAF/OMF export. If you deliver individual WAV files, export all tracks from the first frame of the edit so that they remain correctly synchronized.
3. AAF, OMF and Session Handoff
AAF and OMF allow audio edits to be transferred from video editing software to a digital audio workstation (DAW). Before exporting, check the available settings and compatibility with the studio’s software.
Keep the following points in mind:
Export format: Use a version compatible with the destination software. If the application offers OMF 2.0, it is the best option for workflows compatible with Pro Tools and other DAWs.
Handle Length: Handles preserve additional audio before and after each clip, allowing the engineer to adjust edits when necessary. A typical starting point is 2–4 seconds, depending on the project.
Panning: Disable the export of panning information. Depending on the software and export settings, incorrect handling of stereo tracks can cause the music to be summed to mono.
Avoid exporting AAF or OMF as a single embedded file. Embedded files contain the audio media within the interchange file itself. Depending on the software, version and project size, this can cause export errors, file corruption or compatibility issues. These problems are common in longer projects.
The recommended alternative is to export the AAF/OMF and audio media to an external folder. This folder should contain the interchange file and all the media required to open the project correctly in the studio.
4. Track Organisation and Naming
Only send the tracks and takes required for the final edit. Avoid including raw recordings, alternative takes or unnecessary clips that could confuse the sound engineer.
For example, in a 90-minute film, having to review and organise large amounts of material that do not belong to the final edit can add many hours of unnecessary work. It also increases the risk of selecting the wrong track or clip.
Clearly name your tracks and clips to make them easier to identify and locate during post-production.
Organise and label the following elements separately:
Dialogue
Music
Ambiences
Sound effects (SFX)
A clean, well-organised session makes the workflow more efficient and allows more time to be spent on editing and creative sound treatment.
5. Technical Delivery Requirements
Before starting, confirm with the audio post-production studio which final formats and deliverables are required.
Make sure to specify:
Mix format: Stereo, 5.1 surround mix, or both. Atmos mix.
Stems and deliverables: Dialogue, music, sound effects, M&E (Music and Effects), soundtrack or any other required versions.
Final destination: Cinema, television, streaming or another platform.
Technical specifications: File format, channel configuration, loudness requirements and any specific distribution requirements.
Loudness and delivery specifications vary depending on the final destination and production requirements. Confirming them before mixing helps avoid having to prepare additional versions at the end of the project.

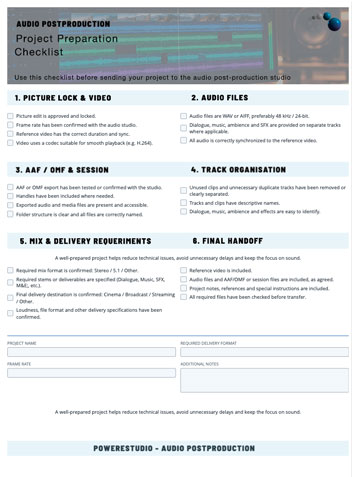
Final Checklist Before Sending Your Project
Before sending your project to the studio, make sure you have checked the following:
Confirm that your project uses the correct frame rate before exporting.
Reference video matches the project’s frame rate.
Mix format confirmed: Stereo, 5.1 or both. 7.1 mix or Atmos.
Required stems and final deliverables specified.
Audio exported as WAV or AIFF, preferably at 48 kHz and 24-bit.
Dialogue, music and sound effects provided separately and correctly synchronized.
Compatible AAF/OMF export included, where applicable.
Stems or audio media exported to an external folder when required.
Tracks and clips clearly organised and named.
Technical requirements for the final delivery destination confirmed.
Audio postproduction for Film and Video
Professional audio post services for your productions.